A favicon is a tiny yet essential element of any website. It appears in browser tabs, bookmarks, and search results. This small icon often holds the first impression of a site. Despite its size, it significantly boosts a website's professionalism and recognition.
Favicons help build trust and improve brand identity. They also enhance search engine rankings by improving visibility and click-through rates. These icons make websites easier to recall and recognize for users during repeated visits.
This guide will explain everything about adding or updating a favicon in WordPress. It includes simple steps, fixes for common problems, and advanced tips.
Whether creating a website for the first time or updating an old design, this article covers every step. Addressing often-missed challenges ensures your website stands out and leaves a lasting impression.
Preparing Your Favicon: What You Need to Know
Before adding or changing your favicon, a few essentials need attention. These tiny icons are more than just visuals. They represent your brand on tabs, bookmarks, and search results. Let’s get everything set up for the best results.
Design Recommendations
1. Ideal Dimensions
The recommended favicon size is 512x512 pixels. This ensures compatibility with WordPress and looks sharp across devices.
2. File Formats
A PNG file is the preferred choice. It supports transparency, which keeps your favicon clean and professional. If transparency isn’t needed, JPEG is another option.
3. Transparent Backgrounds
Transparency keeps your favicon adaptable. Without a transparent background, it might look awkward on different devices.
4. Keep It Simple
Avoid complicated designs or text-heavy logos. Simplicity ensures your favicon stays clear, even at smaller sizes. A basic symbol or icon works best.
Creating a Favicon
1. Tools for Favicon Creation
You can use tools like Canva, Favicon.io, or Adobe Illustrator to design your favicon. These platforms simplify the process for beginners and professionals alike.
2. Canva Quick Tutorial
- Open Canva and create a custom-sized design (512x512 pixels).
- Choose a clean, simple design that represents your brand.
- Export it as a PNG file with a transparent background for better results.
With these steps, you can quickly create a professional favicon.
Testing Your Favicon
1. Preview Across Devices
Once created, test your favicon on desktops, tablets, and smartphones to ensure it looks good everywhere.
2. Use Favicon Testing Tools
Online tools like Favicon Checker help you verify the compatibility of your design and highlight potential display issues.
Crafting a favicon doesn’t have to be complicated. A well-designed one enhances recognition and improves user experience. These tips allow you to easily create and edit favicons that work perfectly for your WordPress site.
Adding or Changing a Favicon in WordPress
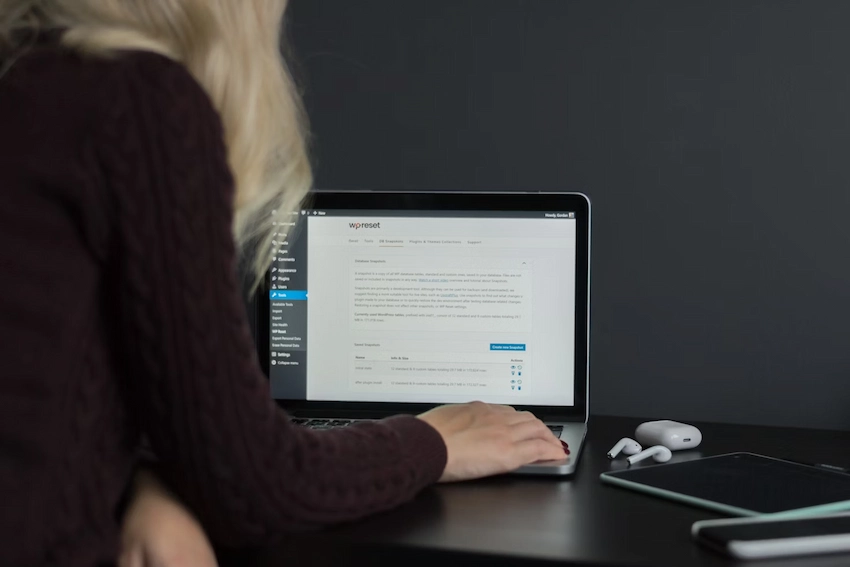
Updating your favicon in WordPress doesn’t require technical skills. There are multiple methods you can choose based on your preferences. Let’s explore these step-by-step.
Method 1: Using WordPress Customizer (Beginner-Friendly)
This approach works well for most users. The Customizer makes changing your favicon straightforward.
- Navigate to the Customizer
- Go to your WordPress dashboard.
- Select Appearance and click Customize.
- Find the Site Identity Option
- In the Customizer, locate Site Identity.
- Click on it to reveal the settings for your site icon.
- Upload Your Favicon
- Select the Site Icon option.
- Upload your favicon image by clicking Select Site Icon.
- If necessary, crop the image using the provided tool.
- Publish the Changes
- Once uploaded, click Publish.
- Open a new browser tab to confirm the favicon is displaying correctly.
This method is perfect for beginners. It ensures your site’s favicon updates without hassle.
Method 2: Using the Full Site Editor (Block Themes)
Block themes simplify many aspects of WordPress. The Full Site Editor offers another way to update your favicon if you're using a modern theme.
- Access the Site Editor
- From the dashboard, navigate to Appearance and click Editor.
- Edit Site Identity Settings
- Within the editor, find your Site Logo block.
- Select it, and enable the option to Use it as a Site Icon.
- Upload and Save
- Replace the existing icon by uploading your favicon.
- Confirm the change by saving and exiting the editor.
For themes using the Full Site Editor, this method integrates seamlessly.
Method 3: Using Plugins (For Advanced Users)
Plugins provide added flexibility, especially for multi-site management. Real Favicon Generator is a popular choice for this purpose.
- Install a Favicon Plugin
- From your dashboard, go to Plugins and click Add New.
- Search for Real Favicon Generator and install it.
- Generate a Favicon
- Open the plugin settings.
- Upload your image, and let the plugin generate the necessary files.
- Follow its instructions to implement the favicon across your site.
- Verify the Favicon
- Use the plugin’s built-in tools to check compatibility.
- Confirm that the favicon is live across all devices.
Plugins simplify the process and add features like multi-format support.
Method 4: Manual Upload (For Developers)
For those comfortable with file management, manual uploading provides full control.
- Upload Favicon Files via cPanel or FTP
- Access your website files using cPanel or an FTP client.
- Upload the favicon file to the root directory of your site.
- Update HTML Header Tags
- Open your theme’s header file (header.php).
Insert the following code snippet:
html
CopyEdit
<link rel="icon" href="/favicon.ico" type="image/x-icon">
- Test the Favicon
- Clear your browser cache.
- Check if the favicon appears correctly in your browser.
While more advanced, this method ensures your favicon displays exactly as intended.
Whether you’re using the Customizer, the Site Editor, or plugins, there’s a method that suits you. If you prefer coding, the manual approach offers unmatched control. With these steps, you can easily change a favicon in WordPress and keep your site looking professional.
| Method | Steps | Best For |
| WordPress Customizer | Go to Appearance > Customize > Site Identity, upload favicon, crop if needed, and publish changes. | Beginners need a simple solution. |
| Full Site Editor | Access Appearance > Editor, select Site Logo, enable Use as Site Icon, upload favicon, and save changes. | Users with modern block-based themes. |
| Using Plugins | Install Real Favicon Generator, upload images, generate files, and verify changes. | Advanced users managing multiple sites. |
| Manual Upload | Upload favicon via cPanel or FTP, edit HTML header with <link rel="icon">, and test in a browser. | Developers prefer full control. |
Troubleshooting: Common Issues and Solutions
Even after setting your favicon, it may not display correctly. These simple fixes and steps will help you resolve common problems.
Favicon Not Displaying
Sometimes, favicons fail to appear where they should. Here’s how you can address this issue.
- Clear Browser Cache
Browsers often store old versions of a website. Refresh the page using a hard refresh (Ctrl + F5 on Windows or Cmd + Shift + R on Mac). This forces the browser to load updated favicon files. - Check File Format and Size
Ensure your favicon is supported in PNG, JPEG, or ICO. It should be 512x512 pixels for compatibility with WordPress. If it doesn’t meet these specifications, try updating it. - Review Theme or Plugin Conflicts
Sometimes, themes or plugins override the favicon. To see if they're causing the issue, temporarily switch to a default WordPress theme or turn off plugins
Google Search Results Not Updating Favicon

When updating your favicon, you might notice it doesn’t change in Google search results. Here’s why and how to fix it.
- Understand Google’s Caching Process
Google often caches favicons as SVGs or Base64-encoded images. Even after changes, this cached version might not update immediately. - Use Google Search Console
- Open Google Search Console and navigate to the URL inspection tool.
- Enter the link to your updated favicon.
- Request indexing to prompt Google to refresh its cached version.
- Check back after a few days to see if the update is visible.
- Redirect Old Favicon URLs
If your old favicon is cached, redirect its URL to the new location. To ensure consistency, update these paths in your WordPress settings or theme files.
Advanced Debugging
Debugging can identify hidden problems for persistent issues.
- Inspect the Source Code
Use your browser’s inspect tool to check if the favicon link is correctly implemented. Search for the <link rel="icon"> tag in the page’s HTML source. Verify that the file path points to the right location. - Use Favicon Testing Tools
Online tools like Favicon Checker can confirm whether your favicon is properly set and highlight compatibility issues across devices and browsers.
Following these steps can resolve most favicon-related problems. Whether the issue is caching, conflicts, or incorrect settings, each solution ensures your favicon displays as expected. Always test after making changes to confirm the fix worked. If you need to edit favicon settings again, repeat the recommended methods.
Pro Tips for a Perfect Favicon
Creating a standout favicon is easier than you think. These practical tips will help you design one that looks professional and works seamlessly across platforms.
Design Tips
1. Avoid Text-Heavy Designs
Text in small spaces becomes unreadable. Use symbols, icons, or simplified versions of your logo instead. Simplicity ensures clarity.
2. Keep Branding Consistent
A favicon should match your brand’s identity. Use the same colors and style as your website or logo. This strengthens recognition and trust.
Technical Tips
1. Support Retina Displays
Retina screens require higher-resolution images. Create your favicon at 512x512 pixels for sharpness. A crisp favicon enhances the user experience.
2. Use Multiple File Formats
Different browsers prefer different formats. Save your favicon as PNG, ICO, or SVG files to ensure compatibility with older and newer devices.
Cross-Platform Usage
1. Extend to Mobile and Social Media
Favicons aren’t just for browsers. Platforms like social media and mobile apps use them, too. Make sure your favicon scales well for various screen sizes.
2. Test Compatibility
Check how your favicon looks on smartphones, tablets, and desktops. Adjust if it appears pixelated or cropped.
With these tips, your favicon can look flawless. Take a moment to design something memorable. If you want to change your WordPress icon, keep it simple and aligned with your brand. A polished favicon makes a big difference!
Conclusion
Adding or updating a favicon in WordPress is simple yet impactful. It makes your website look polished and helps visitors recognize your brand. The process is flexible for every need, whether using the Customizer, plugins, or advanced coding.
If you’re struggling with edits or updates, don’t worry. I understand how frustrating technical issues can be. That’s why we’re here to help. At SiteAim, we specialize in fixing and maintaining WordPress websites. From solving tricky favicon issues to full site optimizations, we’ve got your back.
Are you ready to make your website flawless? Contact us today, and let’s fix and maintain your WordPress site together!
FAQs
Q. How do I change the favicon on a WordPress site?
Changing your favicon is straightforward. In your WordPress dashboard, navigate to Appearance > Customize > Site Identity. Locate the Site Icon option, upload your new favicon, and crop it if needed. Once you've done this, click Publish to save the changes. Clear your browser cache and refresh the page if the favicon doesn't appear immediately.
Q. How do I edit a favicon file?
Editing a favicon requires design tools. Use platforms like Canva or Adobe Illustrator to make changes. Open your favicon file, resize it to 512x512 pixels, and adjust its design to match your branding. Save the file in a compatible format like PNG or ICO. You can then update your WordPress icon with the edited file.
Q. How do I import a favicon?
To import a favicon, first save the file to your computer. Go to Appearance > Customize > Site Identity in WordPress and find the Site Icon section. Click on Select Site Icon, upload your file, and follow the prompts to crop and set it. Once complete, publish the changes and verify that the favicon appears on your site.
Q. Where is the favicon stored in WordPress?
WordPress stores favicons in the uploads directory. The uploaded file is typically placed under your server's wp-content/uploads folder. WordPress handles the storage and file path automatically if you set the favicon via the Customizer. Accessing these files might require cPanel or FTP tools for manual updates.
Q. How do I get my favicon to show up?
If your favicon isn’t displaying, clear your browser cache and try a hard refresh. Ensure the uploaded file meets WordPress guidelines, such as being 512x512 pixels in size. Check for potential conflicts caused by themes or plugins. If the issue persists, use tools like Google Search Console to request an update for the cached favicon.

